Tutorials for my lab and classes
- Make sure you have the SlicerMorph module extension loaded
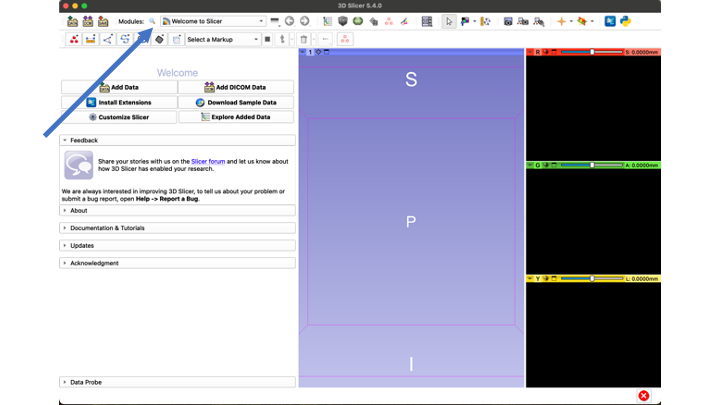
- Open the "Input files" drop-down menu
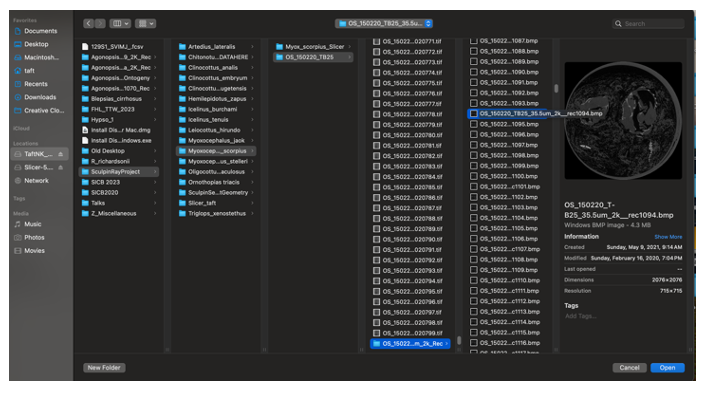
- Go to the hard drive (TaftNK_Storage)
- Go to data folder (Sculpin Ray Project)
- Select species (Myoxocephalus_scorpius)
- Select Folder "OS_150220_TB25" (Could take a while to load)
- Scroll ALL the way down to the folder with the Reconstructed files (OS_150220_TB25_35.5um_2k_Rec)
- Scroll down past the first twenty or so slices and click on any individual bmp file)
- Click "Open"
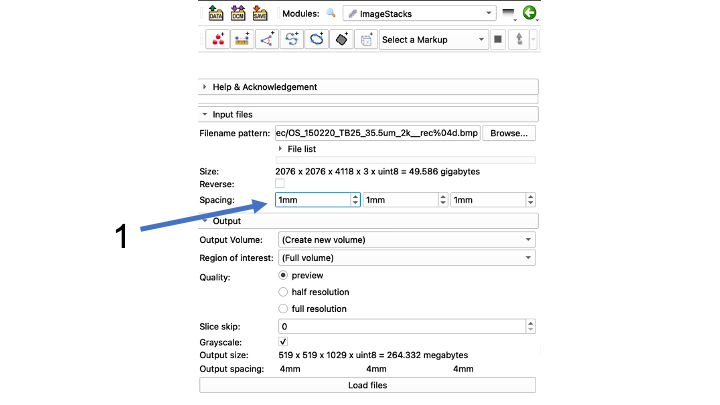
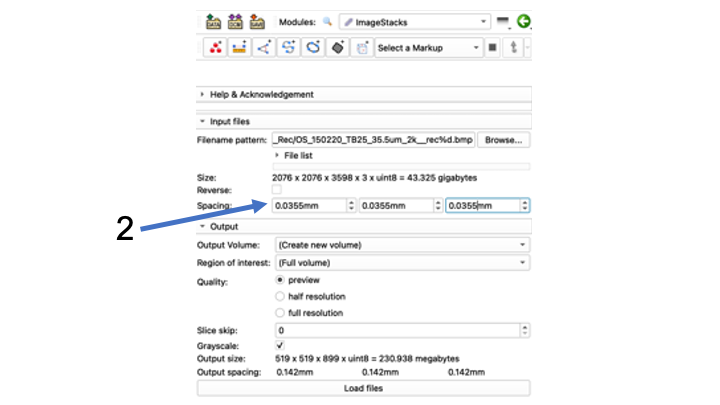
- Find the three Spacing boxes that read 1000mm
- Change spacing from 1000mm to file-specific spacing To do this, convert the um in your file name to mm by dividing by 1000 (35.5 um -> .0355 mm for this file)
- Note: The program often won't take the first zero right away, you may have to type .0355 and it will come out .355, and you have to go back and insert the first zero again so it will read .0355
- Make sure to copy and paste the correct spacing from the left box into the other two boxes.
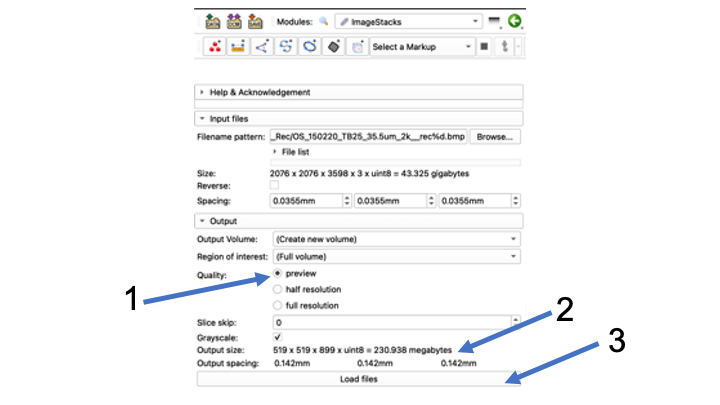
- Make sure that "preview" is clicked in the "Quality" menu
- Check "output size"...should be megabytes, not gigabytes
- Click "Load files" button
- Note: Could take a few minutes
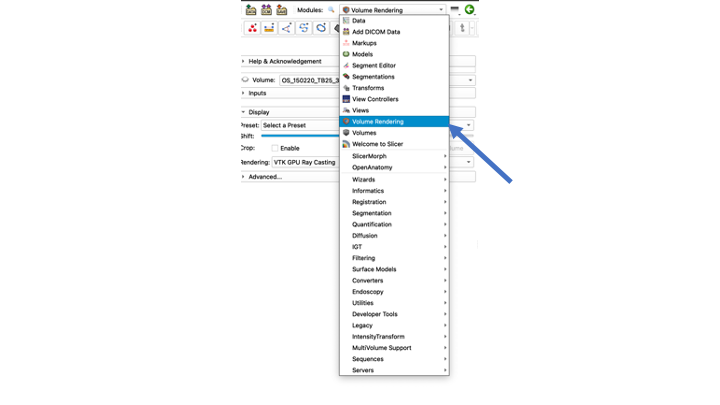
- Go to the Modules drop-down menu and select the "Volume Rendering" Module
- Click the "Eye" next to Volume so it is open
- Click the "Center View" button, and re-size your volume so you can see it
- In the Display menu, choose your Preset. We will almost always be using umCT-Bone8Bit
- Adjust the Shift slider a TEENSY bit to make sure you can see the bones clearly, with minimal other stuff.
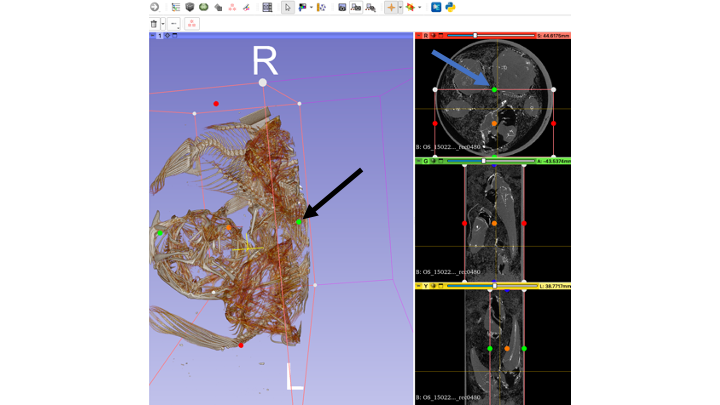
- Click the eye icon next to "Display ROI" so that you can see your ROI in the 3D volume window as well as in the individual slice views.
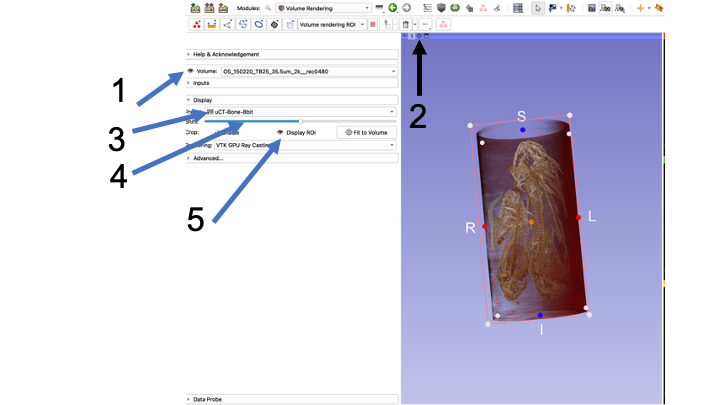
- You can rotate your preview volume all around and locate the structure you are interested in, or use the slice views
- Use the "dots" (black arrow in 3D view, blue arrow in Green window view) to re-size your ROI
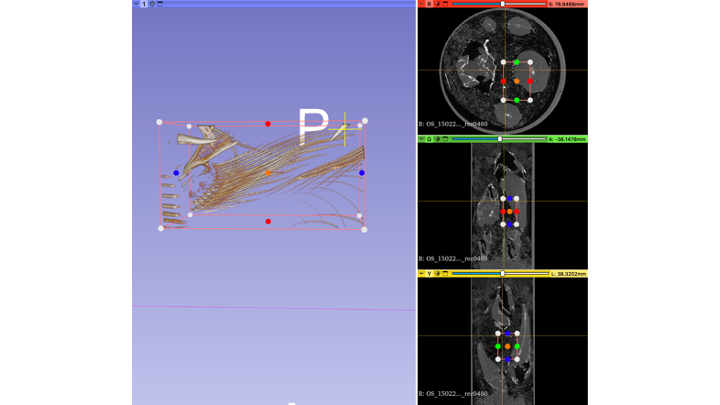
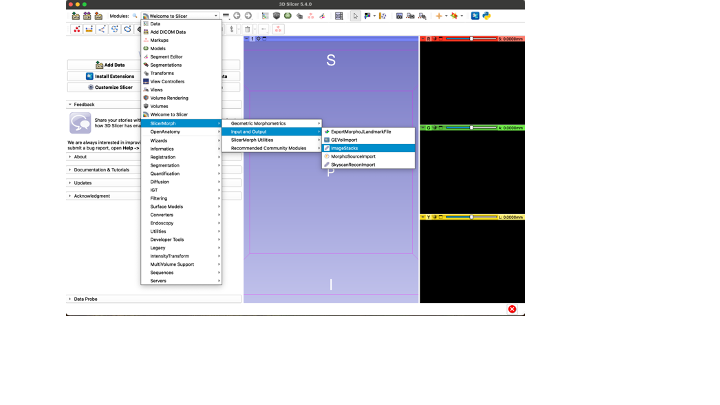
Once you have your region of interest cropped, use the Module Drop-down menu to go to SlicerMorph -> Input and Output -> Image Stacks
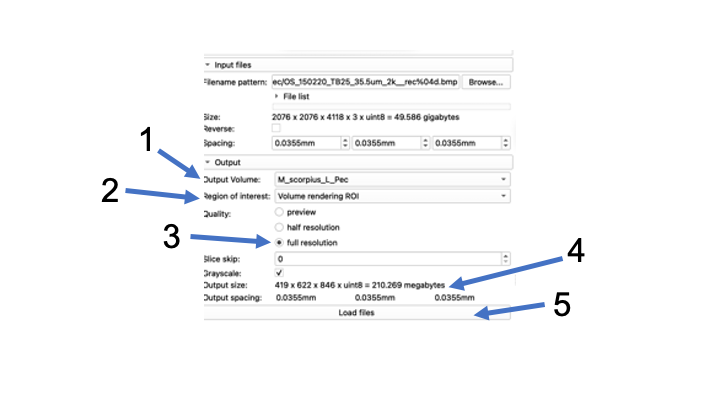
- In the Output Volume, Create New Volume as...and rename your volume.
- Then, make sure your 'Region of Interest" is set to Volume rendering ROI
- Change your Quality to "full resolution"
- Check and make sure your file size is small (megabytes, not gigabytes)
- Click "Load files" Note: This could take a few minutes

- After your file reloads at full resolution, time to check and save
- If the new file looks good, go up and click the "Save Data" icon
- Choose "Save Data", and it will giev you the option to choose where to save your data
- Make sure you choose the right directory!
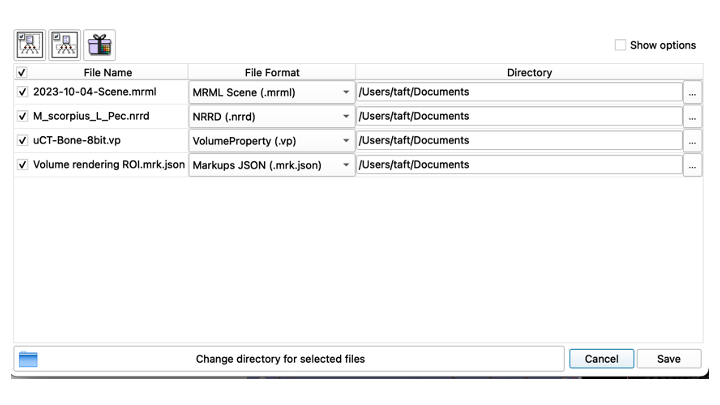
- This first time, save all of the files, the MRML Scene; the NNRD, the VolumeProperty and the Markups JSON files. Don't change the names of anything at this point! Just save!
Now you can come back and segment out your nice, smaller file!